So if you follow me on Facebook you know I had to make my lil man an onion chest poultice in the wee hours of the morning due to his cough. He wasnt happy and I needed a quick fix without running for the over the counter stuff. We do have Hyland's Cough and Cold which I do approve of because of the all natural ingredients... But grandma gave it to him daily while hubby and I were out of town on business. So I kinda want to step away from that. It doesn't feel right giving him so much of something over a long period of time.

So... A chest poultice... Usually made with fresh onions. Super easy and super quick... Here's what I used:

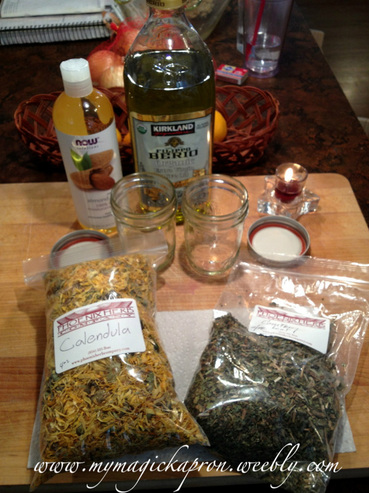
1 large onion (This amount will change depending on what size chest you are applying the poultice to)
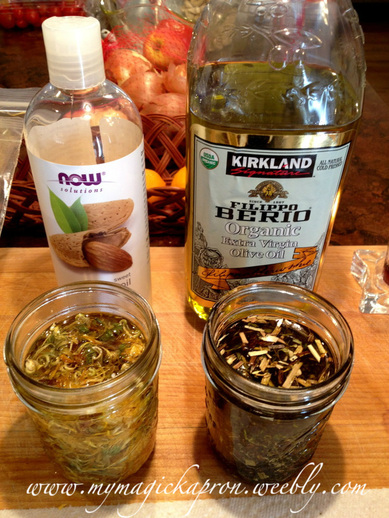
Olive oil

Flour

Old T-shirt or piece of cloth you don't mind ruining

I coated the bottom of a pan with olive oil... I would say it ended up being about 2-3 tablespoons. I chopped the onion and put them in the pan on high heat (I had a coughing lil man I had to tend to!). At this point as I was stirring the onions I had to stop myself from reaching for the spices!

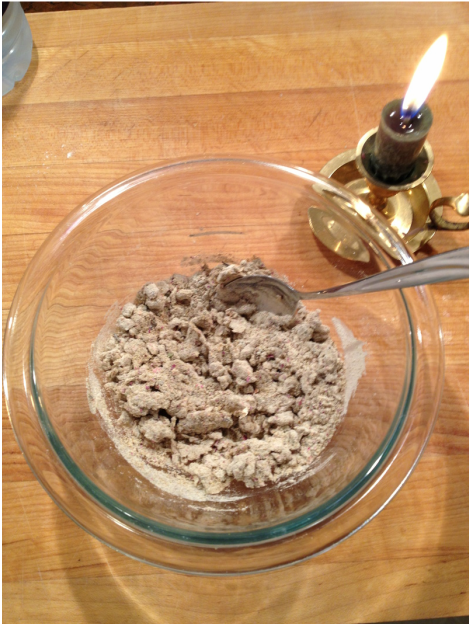
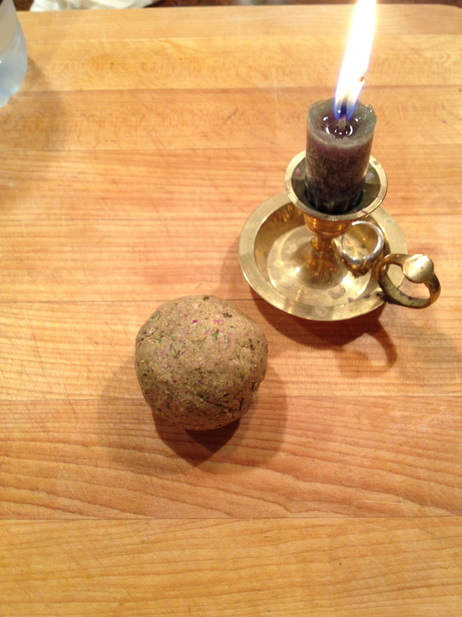
After they become fragrant and translucent, I turned the stove off and added a few spoonfuls of flour... Just eyeballing it until it became less oily and more of a paste.

I grabbed an old tshirt and layed it on the counter and spread the poultice on the t-shirt. I folded the t-shirt over trapping everything inside, put it on a plate, and ran to my coughing lil man.

I took his shirt off and had him lay flat on the bed... I placed the t-shirt with the poultice inside on his chest (FYI I waited for it to cool down enough to place it on his skin but the key is to have it be as warm as the person can stand it without it burning them). Then I placed a towel over that to help keep the heat in. Ideally you want a hot water bottle between the poultice and the towel but we don't have one (ummm....).

He said he didn't like the smell but once I told him it would help his cough and that it was medicine he was very cooperative... Poor baby will do anything to get rid of that stinking cough!

After about 10-15 min he began to settle down... His cough became a little less intense and less frequent... And then... he was asleep. <3

He seems to cough the most when he wakes so I imagine I'll be doing this again in a couple hours... Oh and I also gave him tea made from chamomile and plantain which I know helped as well.

Tonight I'm going to put garlic oil on his feet and with everything combined... I'm hoping he'll be back to new come Monday. Here's hoping!!

 
So I've used this hand sanitizer all weekend as we traveled to Kentucky to visit my sister and back. I was SUPER NERVOUS about getting sick since I'm pregnant and all and of course I didn't want my little man to get sick either. Well... We're back home and so far so good!

The only problem is I don't have exact measurements for you but I'll try and sum it up as best I can... Make sure to read my notes at the bottom. I've decided not to make it exactly the same bec time.

Here's what you'll need:
2-3 oz of Aloe gel (The real stuff... This is what I used)
3 dropper full of Jojoba oil
5 drops of each of the following:
Lemon essential oil
Frankincense essential oil
Tea Tree Oil essential oil
Palmarosa essential oil
Orange essential oil

Start out with the jojoba oil and add all 20 drops of the essential oils to the jojoba oil. Then add that oil mixture to the 2-3 oz of aloe gel. Cap and shake and voila! You have homemade hand sanitizer that's alcohol and chemical free!!

There are SEVERAL combinations of essential oils that you could use. There are a WIDE range of anti-bacterial essential oils and the ones I chose are simply only a few.

Here is what I'm going to do differently next time.  You see... AFTER I came home from Trader Joes I looked at the back of the bottle of the aloe vera gel... Normally that's something I do BEFORE I make the purchase but it had come recommended to me so I was just excited that I found it and rushed on to buy it. Anyway... When I looked at the ingredients list I found more than just "aloe vera"... And in addition to a couple ingredients I couldn't pronounce I found one type of paraben. Sorrrrrry.... But this little bottle of aloe vera gel that I used (link posted above) just does NOT make the cut for my standards. I'm glad I made such a little bottle!!! I will finish using it because I don't like to waste anything but the next hand sanitizer that I make will be made with one different ingredient... The aloe vera.

Instead I found this at Sprouts... It's not in gel form in fact it's liquid like water... But I figure instead of a squeeze bottle I'll get a little spritz bottle and just do one to two sprays on our hands and use it the exact same way. I'll let you know how it works out when I do it this way. But I think it'll be perfect!

So there you have it... My homemade hand sanitizer that my son and I used on our trip... And like I said... No sniffles or sneezes yet! I WILL say however... That's not ALL I did.... I also dosed us all up with Elderberry syrup before our trip and will continue to do so for the rest of the flu season! I'll post that recipe next!!!
 
I am so thrilled about these mala beads that I made!!  You can call them mala beads, meditation beads, or prayer beads... whatever ever fits you best.  Here's a quick tutorial on how to make them!  ETA: I originally found this recipe here!
I tried following the recipe given in the link above but you kind of just work with it till it works for you... I started out with half a cup of herbs... I mixed chamomile and rose petals!
I then put the herbs in a food processor or grinder or whatever you have that will grind them up into as fine of a powder as you can get.
Add about 1.5 tablespoons of flour and then begin adding a little water at a time until you form a nice dough...
Sort of like play dough!
Then once it's working nice for you begin forming little balls... whatever size you want!  While they are still in a dough consistency I used a yarn needle and poked a hole through the center (on both ends for an even hole).  Then I just let them sit for about two days on a paper towel and sort of rolled them around after the first day so the other sides could dry. 

Then I strung through with yarn!  This was tons of fun and I can't wait to make more!! :D
 
Picture
I have something very special sitting in those three little jars that you see there...

Calendula Oil
Comfrey Oil
Calendula Honey

What are they to be used for?  Well... Calendula Officinalis is great for many skin irritations because of it's anti-inflammatory, anti-microbial, anti-fungal, anti-viral, and astringent properties.  So therefore this oil could be used for a number of different things such as salves, lip balm, and on it's own.  I've also infused some Calendula with honey to use as a facial cleanser!

Comfrey (Symphytum officinale) is a very healing herb that can heal wounds quickly because of it's allantoin properties... it can also stop bleeding and reduce inflammation which makes it the perfect herb to make a salve out of as well.  There are a tons more uses for both Comfrey and Calendula and if you're interested in learning more, I definitely recommend checking Herb Mentor!

Here are the materials I gathered to make my infused oils.  For the Comfrey oil I will be using Cold Pressed Organic Olive Oil and for the Calendula oil I'm using Almond Oil.
Next I filled my small (8 oz) jars half full with the herbs making sure that they are packed in.
Next I filled my jars up with the designated oil for each herb, making sure to leave about an inch of head space.  I just fill up to the first line of the screw top portion.  Next I gave them both a stir to get all the herbs and oil combined and to get all the bubbles out... after doing this I noticed the oil levels went down a bit so I made sure to top them off...  
Next I cover them up with a paper towel and the screw top ring that came with the jar.  The paper towels are used to seep up any moisture and excess oil.  I also labeled each jar so I know exactly what they are since they will be sitting for a few weeks before using. 
All done!  Well... for now... these jars will sit for three weeks total.  In the first week I need to stir them every day to make sure the herbs are covered and within the oil otherwise it's possible they could get moldy.  Even after the first week it's a good idea to watch them carefully and make sure they are doing well.  After the third week I'll be showing you guys how I strain them out and make magickal little goodies out of these awesome herbal infused oils! 

I did almost the exact same process for my Calendula infused honey... the only difference was I only filled the jar 1/4 of the way with packed herbs, filled the jar with honey, gave it a stir and screwed on it's regular top.  The honey also will sit for three weeks and each day I pass it I will be turning it over and letting it sit so it gives itself a stir. 
And just for fun here's my kitty who loves to watch me conjure up our magickal remedies...  I'm guessing he's wanting some of that delicious honey too...
Check out some other wonderful homesteading blogs over at the
Homestead Revival's Homestead Barn Hop!
 
Picture
One of the things I've learned so far in my herbal education through Herb Mentor is how to make a nourishing herbal infusion.  This sort of infusion is meant to be taken daily to stay on top of your health and well-being.  I consider it to be similar to taking your daily vitamin... better in fact since it is in liquid form and goes straight into your system.

The herb I've chosen to make my nourishing infusion with is Oatstraw.  Oatstraw acts as a restorative nerve tonic which helps with stress and exhaustion (what mom doesn't need help with that right?).  It is also high in calcium, chromium, magnesium, niacin, silicon and vitamin A. 

To make my infusion I put one ounce of dried Oatstraw into a 1 quart mason jar.  I filled the jar with just boiled filtered water all the way to the top leaving one inch of head space.  I gave it a little stir to make sure all the herbs were covered in water and then screwed the top on.  I typically let this sit overnight but in case I don't get to it the night before I let it sit for a minimum of four hours before straining and drinking!  When I strain the herbs I make sure to get some cheesecloth and squeeze out all the excess infusion from the herbs because it's all good stuff coming out of there.  Then I put it in the refrigerator and drink throughout the day! 

I have only done this a couple of times and I'm going to begin doing it daily as it is recommended.  After about a week or so I'm going to write an update on how I'm feeling and any changes I've noticed.  I'm excited to see some results!!

** Please note... I am NOT an herbalist nor do I work in any type of medical field.  I am simply a student wishing to learn all I can about the beautiful and wonderful herbs we have growing all around us and I simply want to share all my experiences with my readers.  If you are wanting to learn more about herbs and their uses I highly recommend checking Herb Mentor!